ESPN Texture Exploration
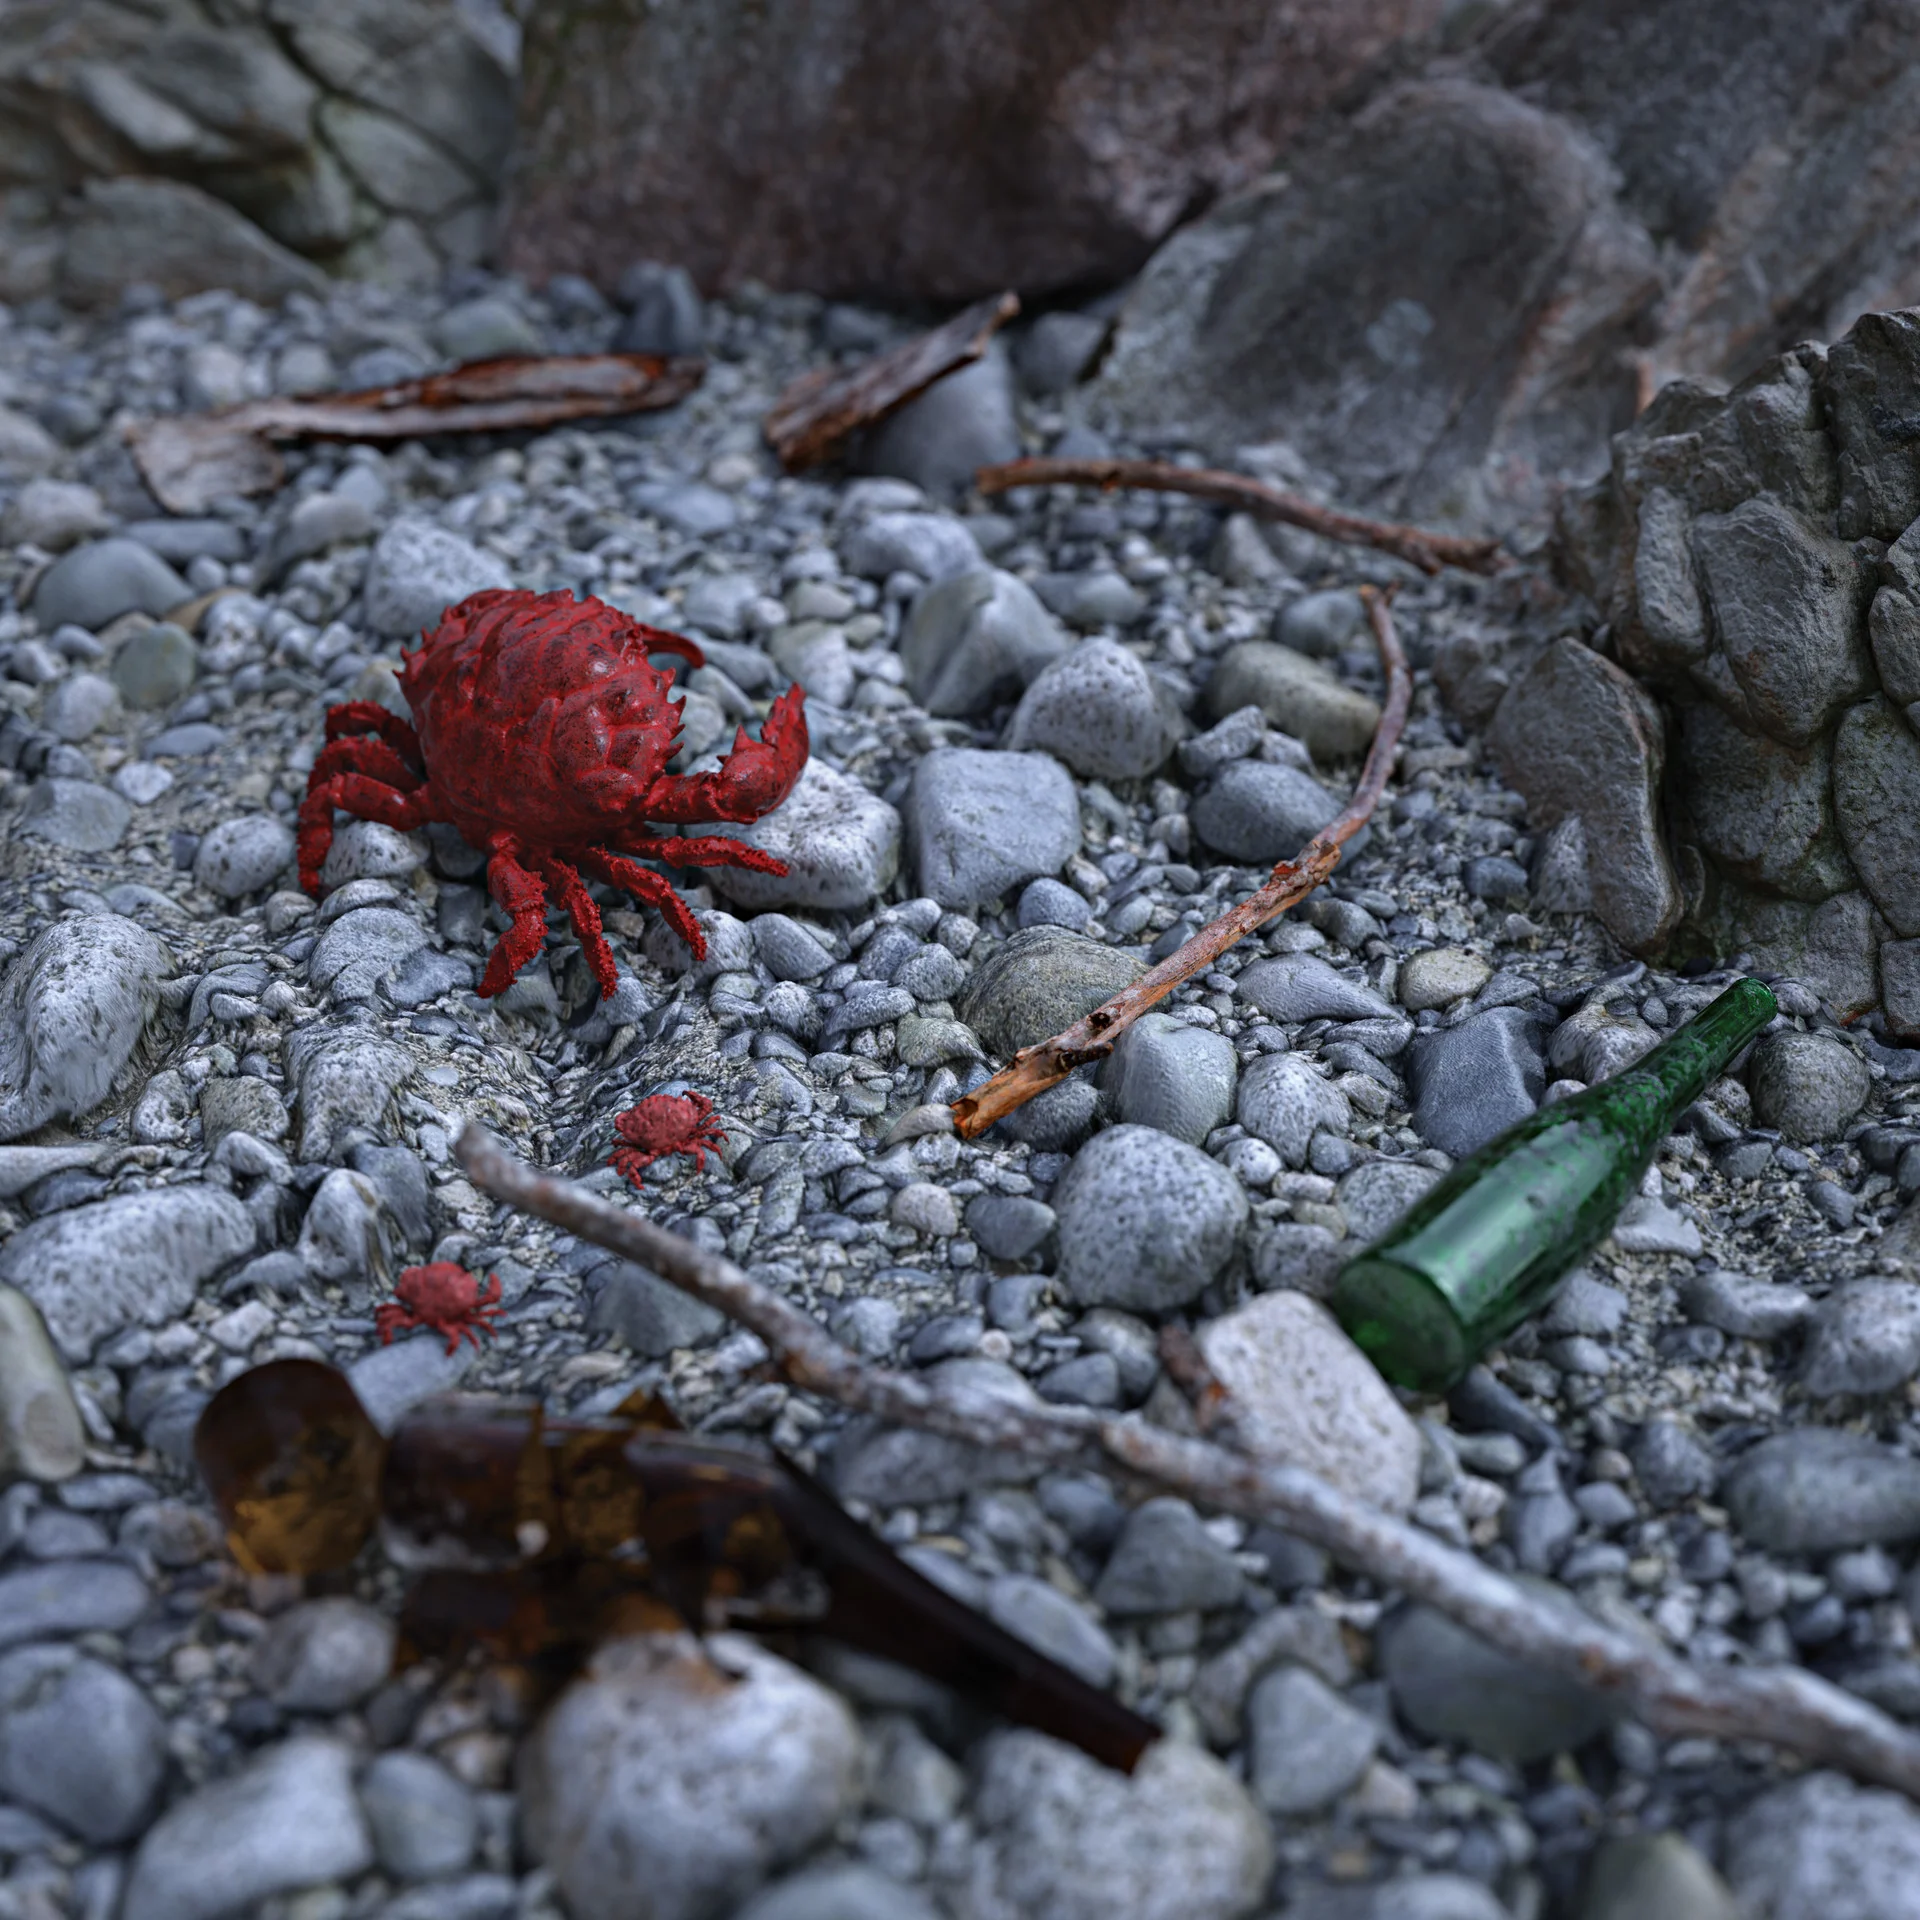
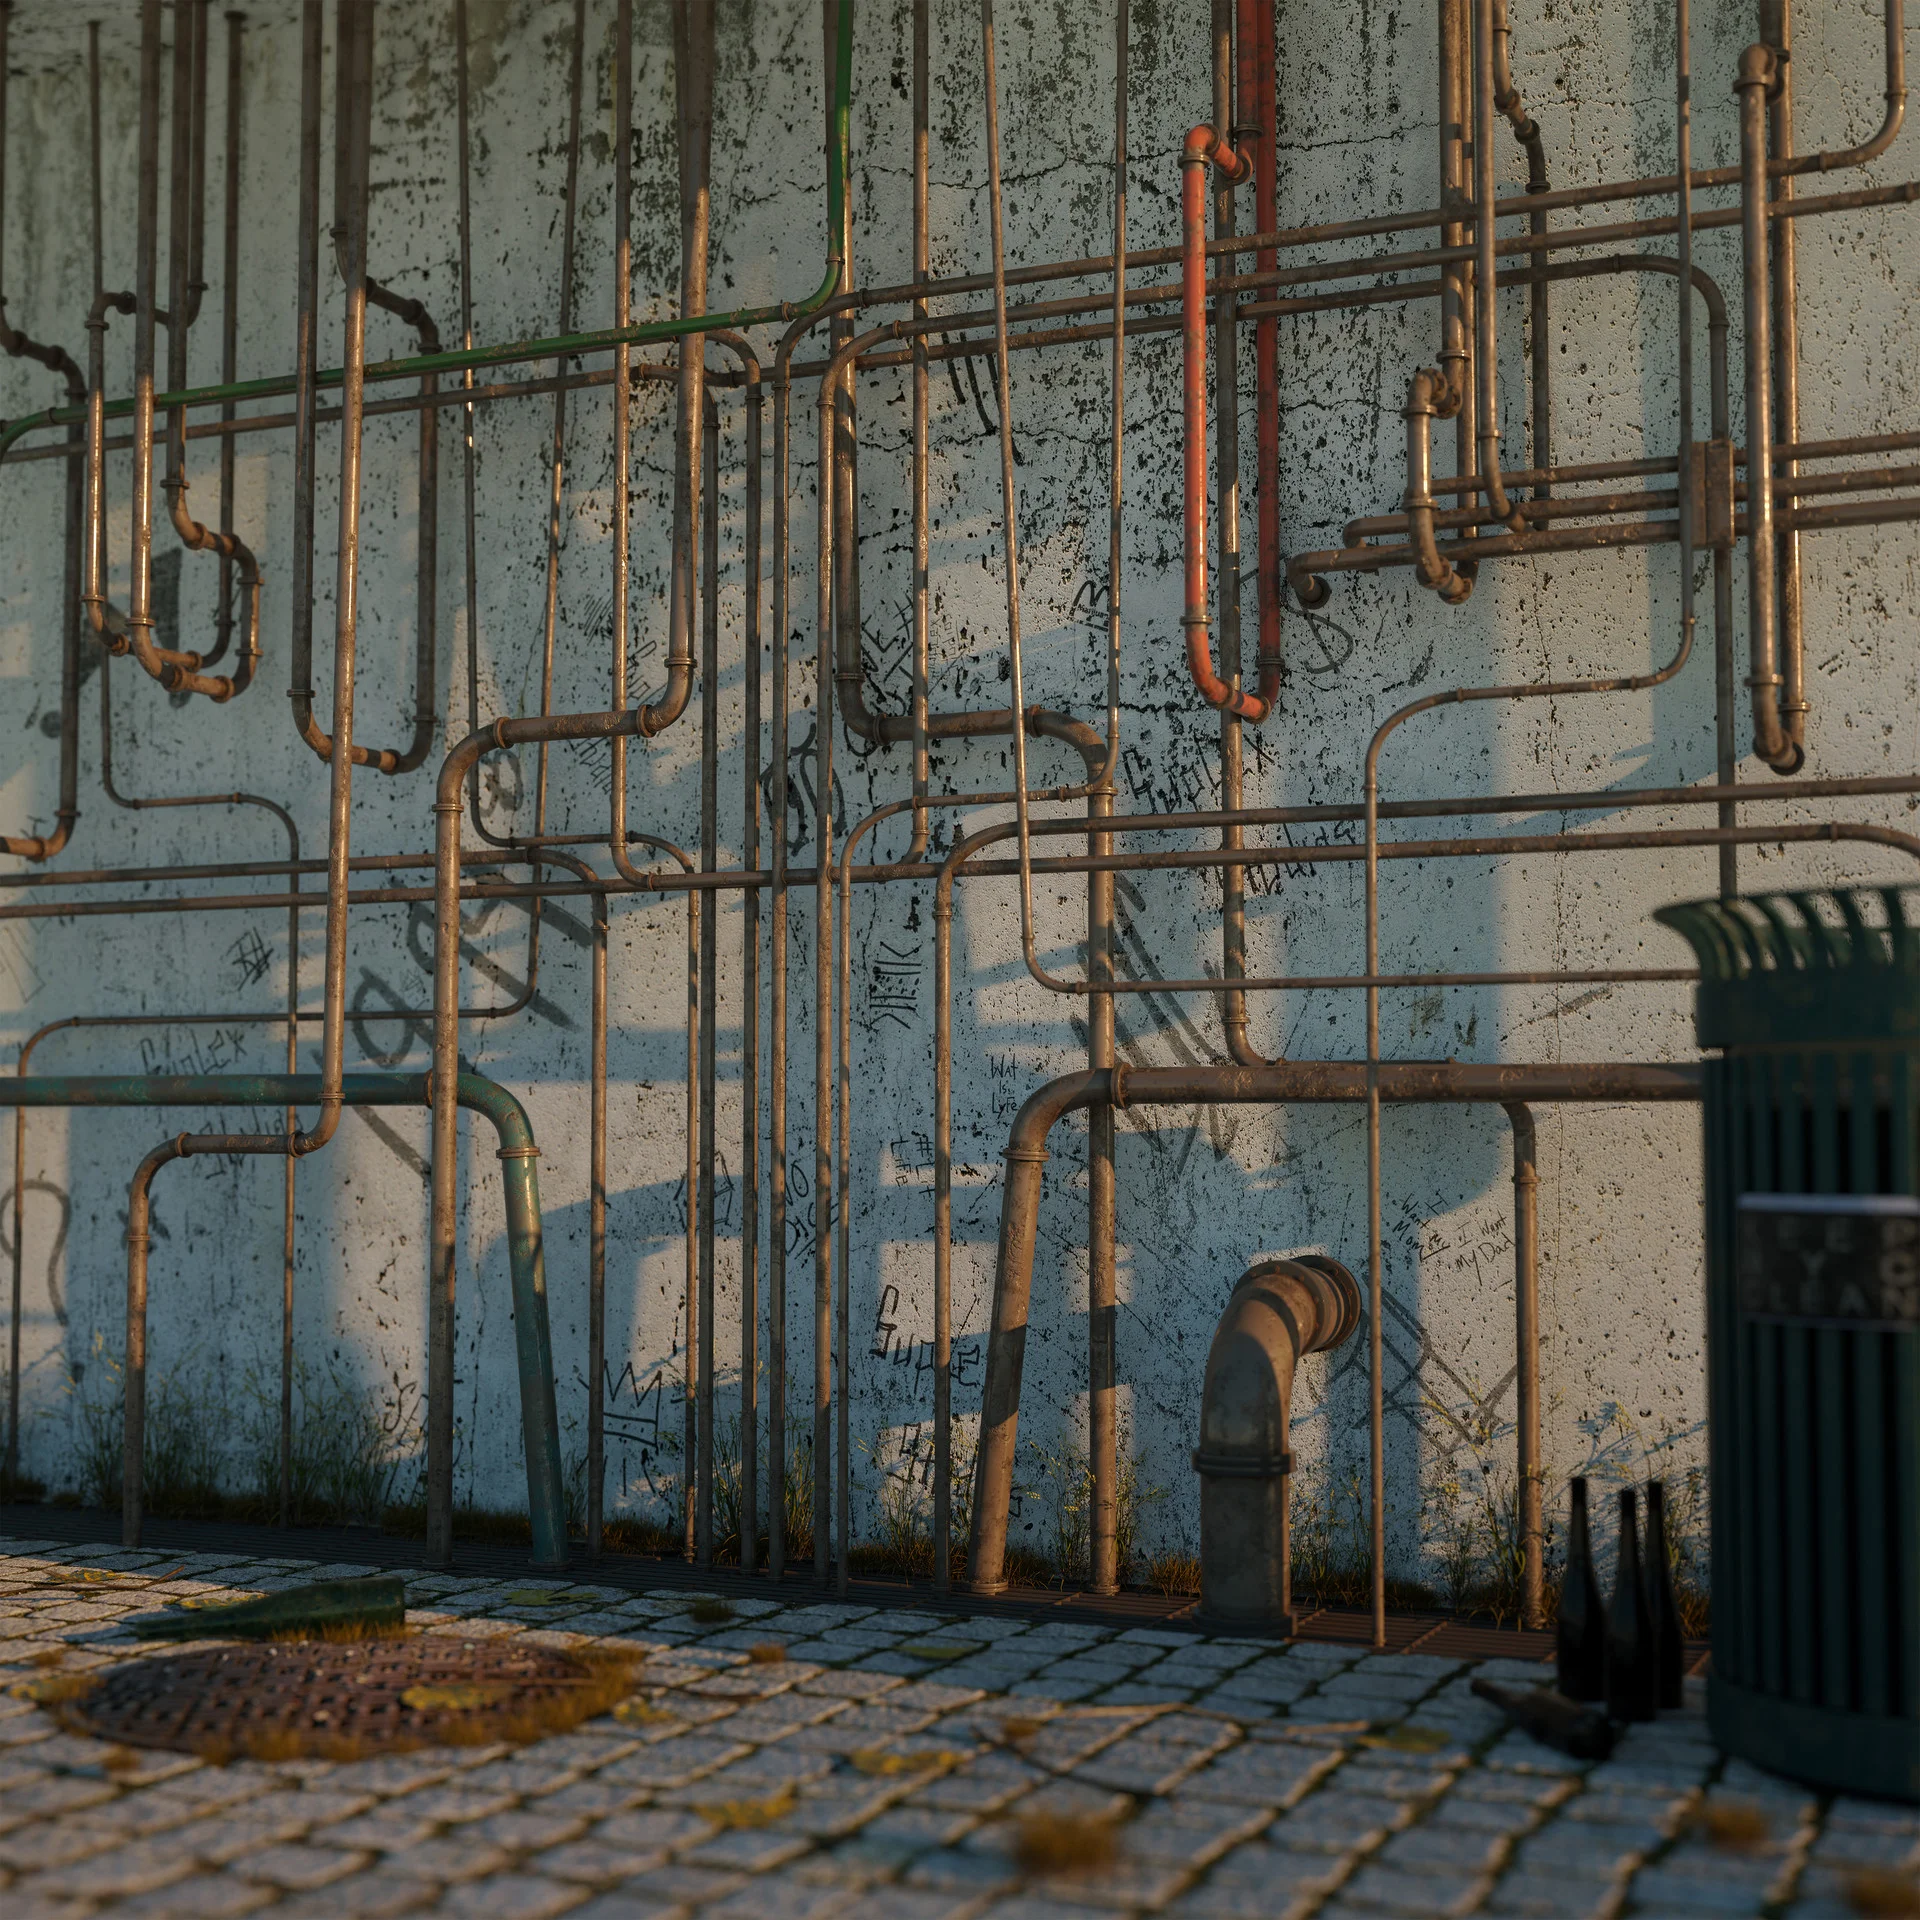
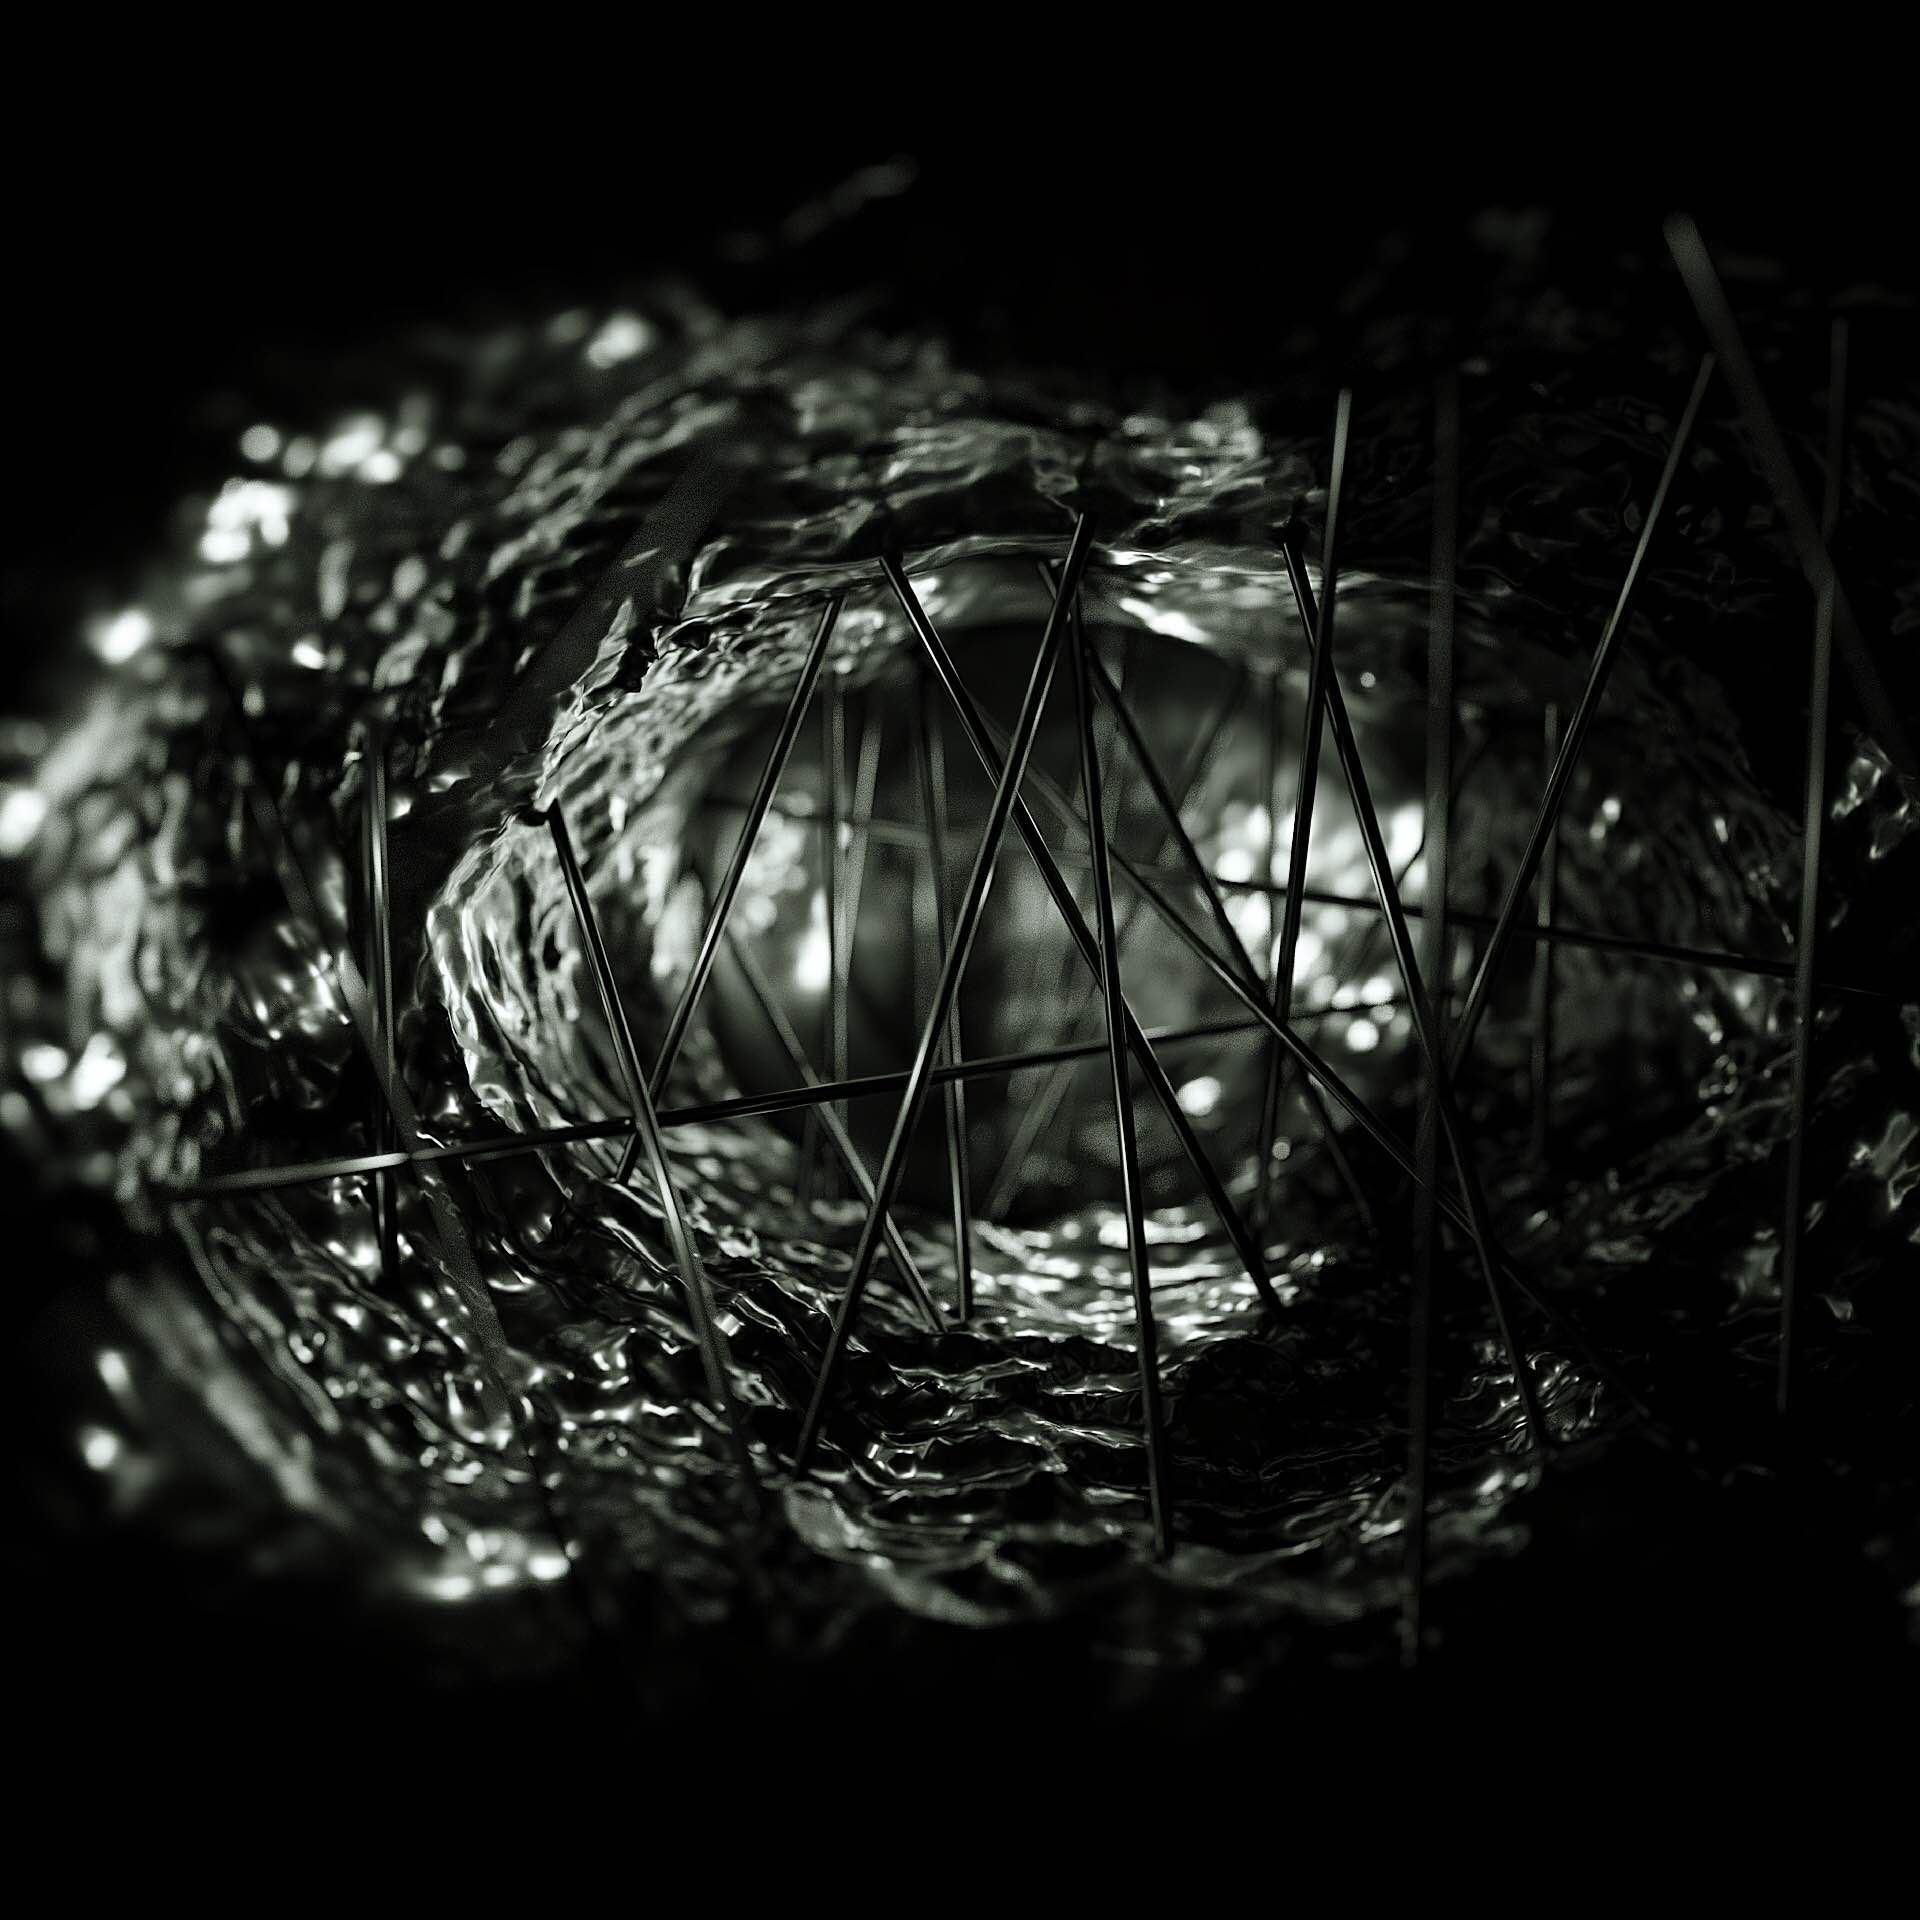
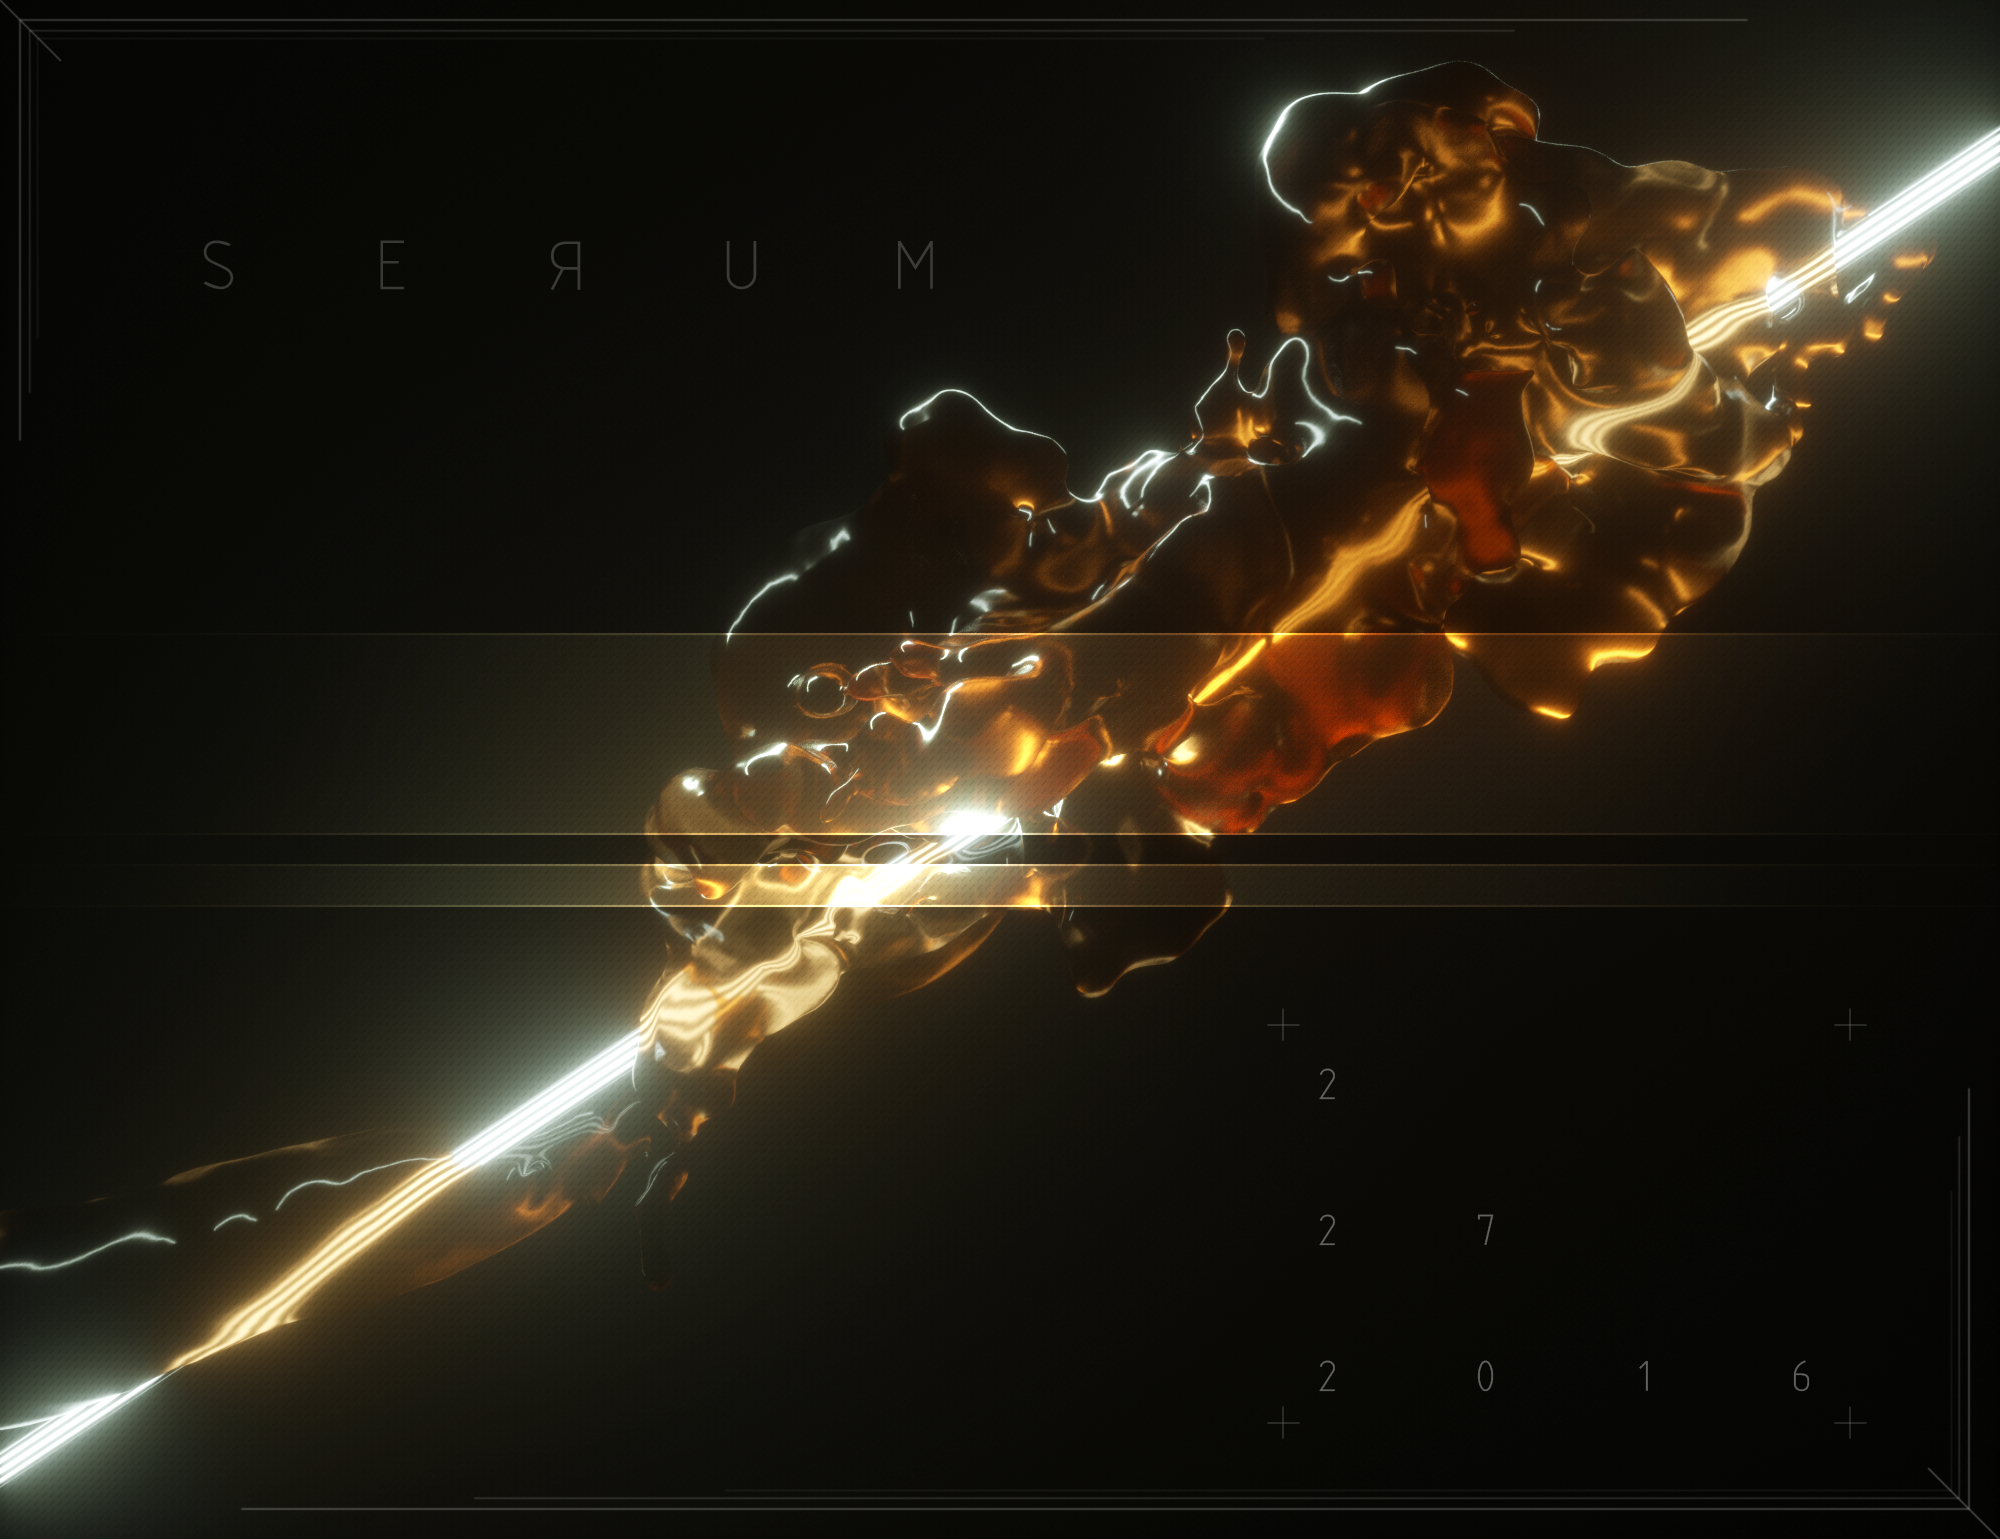
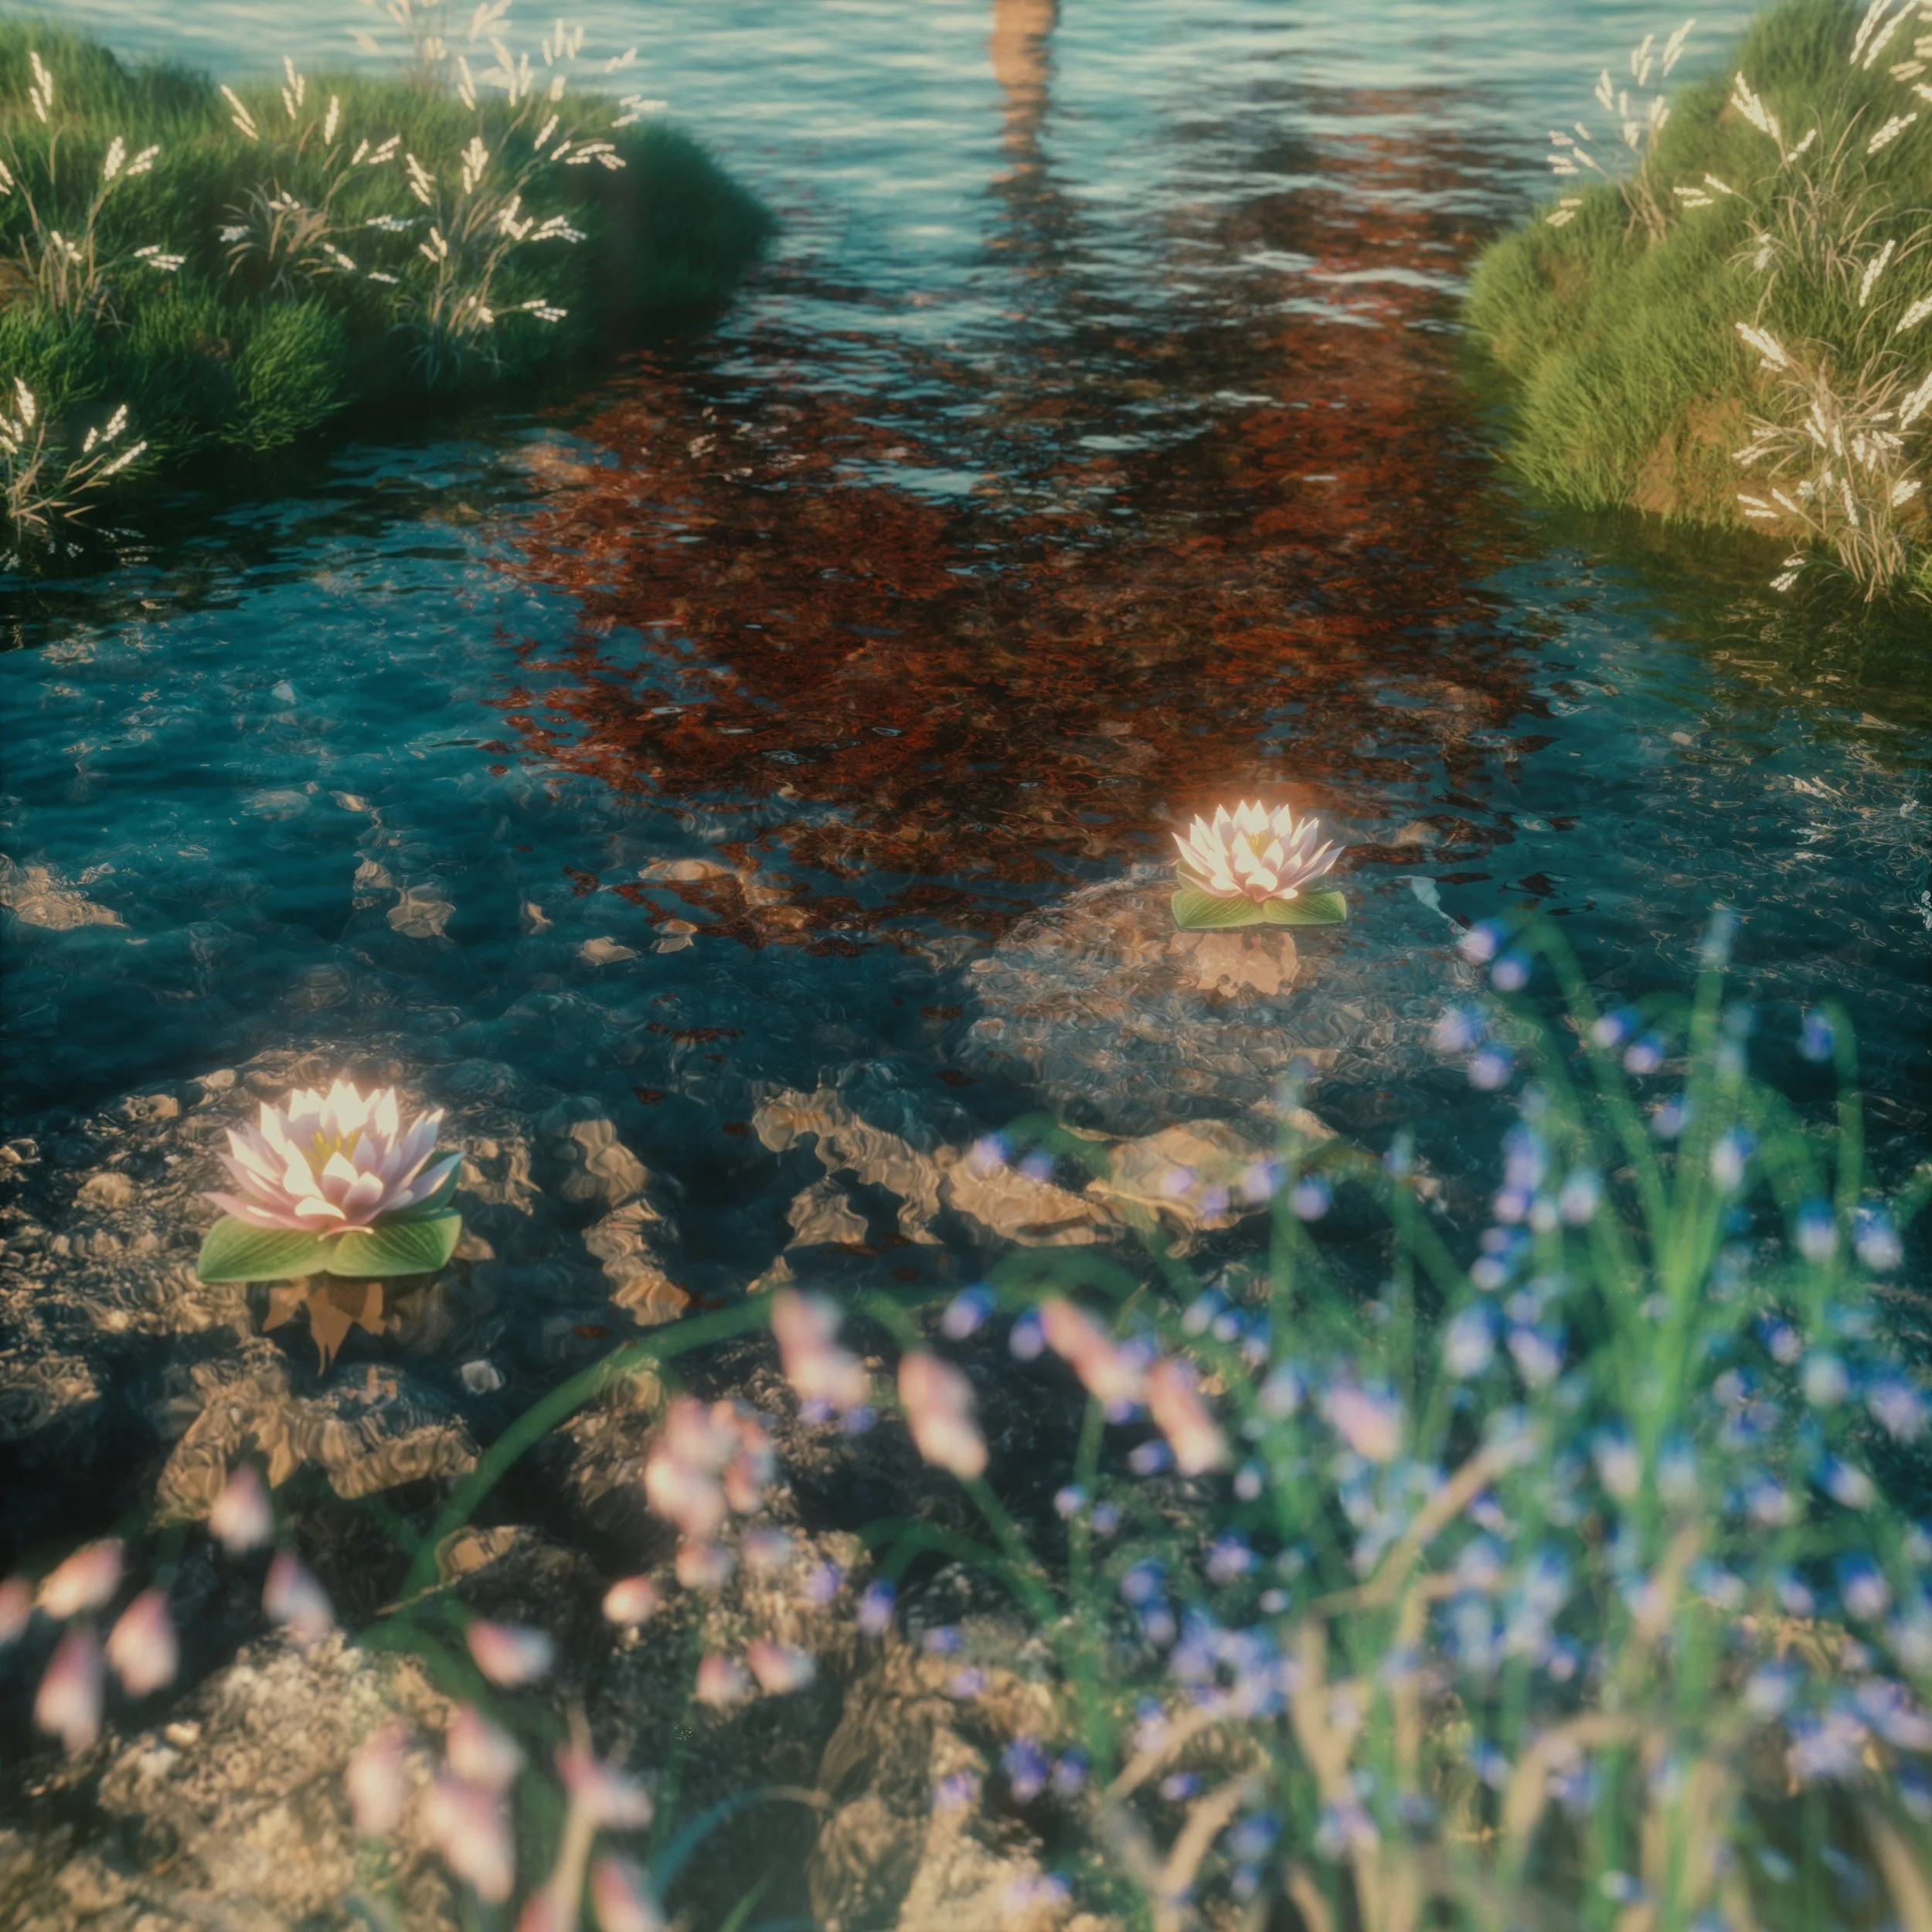
I found these frames in a folder on my google drive while doing some cleaning. These frames were done as part of a texture test completed during a pitch for ESPN. (Click image to view others)
RANDOM RENDERS: OCTANE | C4D
EXPLORATION _ 02 : NON - UNIFORM TEXTURING
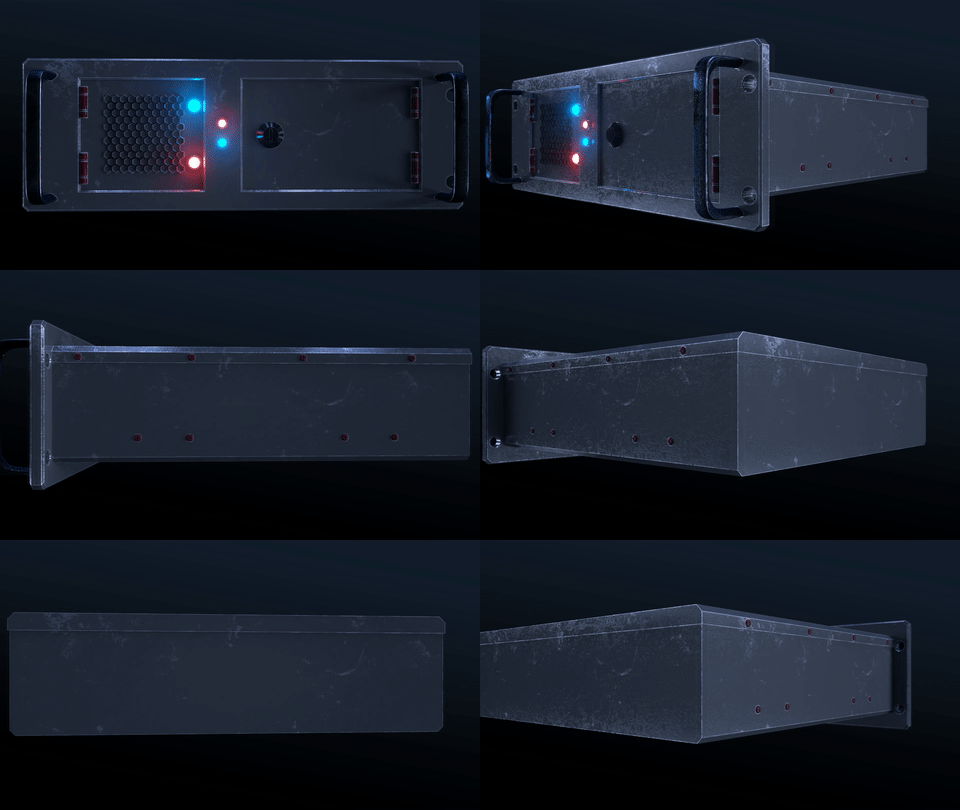
First off I want to apologize to anyone thats trying to keep up with my process on this page. I have been absolutely slammed at work and dealing with some personal matters that have kind of been crippling my creativity and mood in general. In this exploration my goal was to create a texture that showed ware and imperfections that one might see on a mechanical object in a non-uniform way. You may notice by my other exploration below, the use of the dirt node is quite obvious and though it looks ok, you can easily tell its a cg model by how uniform the ware and imperfections are amongst other things. Below are a few shots (and eventually a quick video) showing my results from this exploration. The model itself was provided by the incredible Vitaly Bulgarov. Hope you like it!
Raw render out of C4D below.
Color corrected frame below.
Octane texture node tree. My apologies in advance to any real texture artists that may see this....
Exploration _ 01 : Dirt Node exercise
I had a bit of free time while we were waiting for critique from a client on a studio project so I decided to take that time to really solidify my confidence in using the dirt node. Even though I've been playing in octane for about a year now, embarrassingly enough I have only recently gotten into the material node editor which has already made my workflow much faster. My goal for this exploration was to really push the effects of the dirt node and see how it reacted to different grunge maps and how those effected the geometry itself. Enjoy!
PROJECT: MATRIX
Usually here is where I would put the project brief or concept statement but this project is a bit hush hush between the group working on it so the conceptual aspect of the piece will remain a mystery until its complete. Here you will find strictly my technical process as I create assets, textures, and other goodies for this project. Enjoy!
Finally the cables and everything were laid out and textured well enough to proceed onto building the scene around him. I was pretty happy with how some of the renders came out but it did take me quite a bit longer than It should have however client and studio work take priority.
CABLES:
My next goal after reaching a comfortable place with the textures on both the plug and socket was to tackle the cables attaching from the plugs to an unidentified source. I had seen plenty of instances where ZBrush seemed to be the right choice when creating very quick tube like geometry. Unfortunately I wanted to have 100% control over each cable incase I wanted to easily manipulate them with dynamics inside of C4D, so each spline was drawn out in 3D.
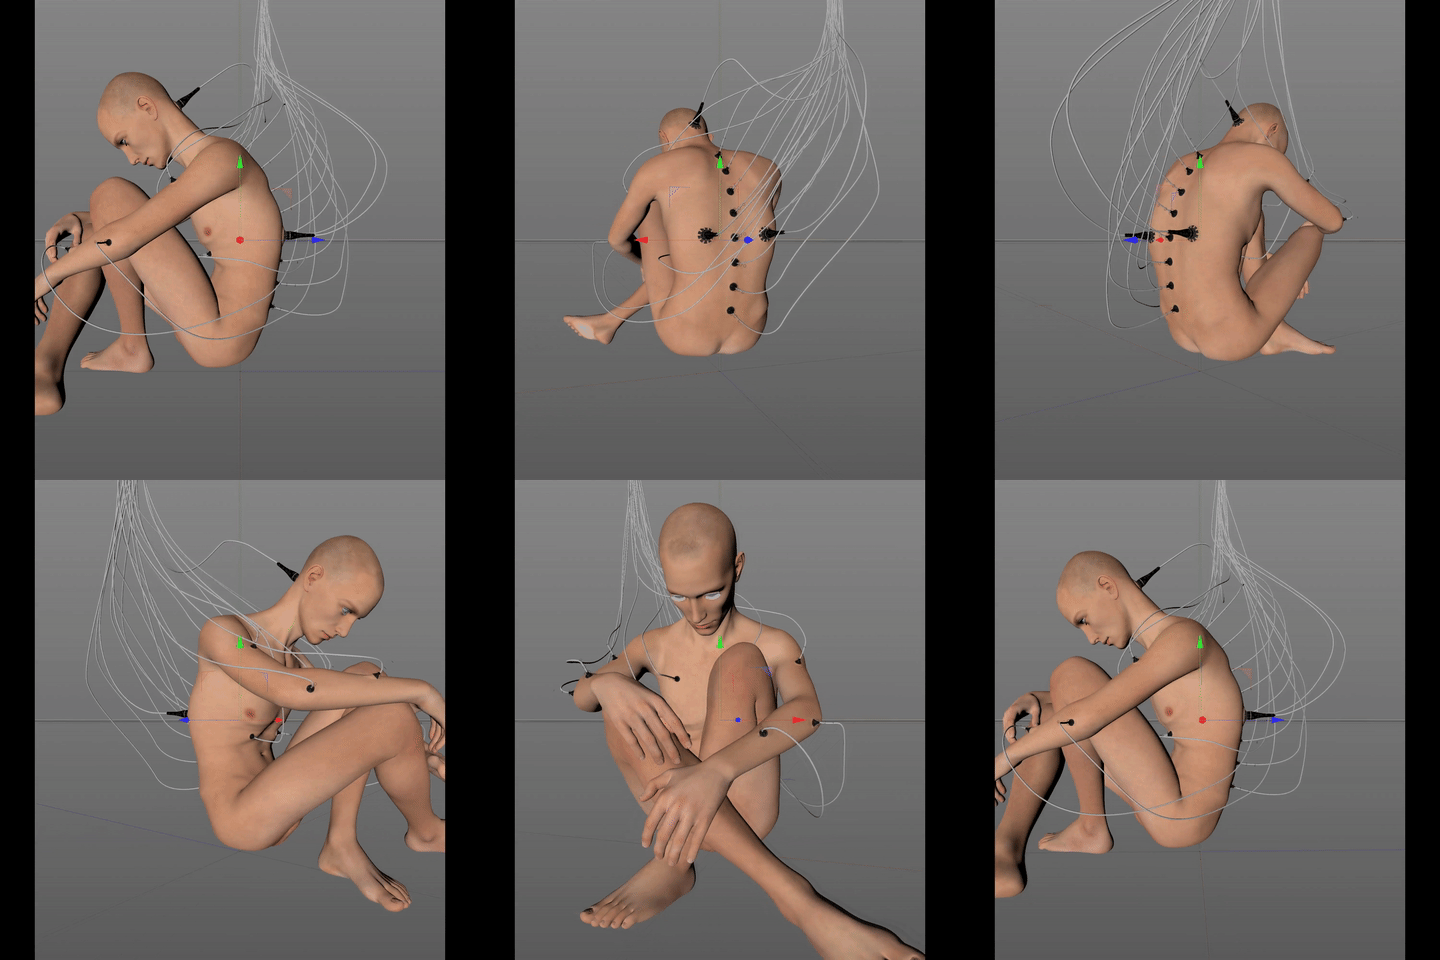
The GIF below displays the layout of each plug on a low poly mesh of the human model.
PLUGS AND SOCKETS CONT. :
To conclude the plugs and sockets process I wanted to share the current plug and socket texturing that, of course, is subject to change. I chose to keep the texturing a bit more on the intense side because most of the shot ideas thought up at the time required shots from a farther distance away. I felt it was best to make the textures a bit more detailed so they would be a bit noticeable even from a bit of a distance.
PLUGS AND SOCKETS CONT. :
I was finally able to get enough free time to play with textures on the plug and socket again. I chose to focus on the plug first and try a few new techniques that I had never tried before in octane. You can tell by the renders shown below that I was definitely getting a bit carried away with learning the ins and outs of the dirt node inside of octane. I felt that the texture, though very intense and over bearing, fit better than the current and I knew it was just a matter of playing with sliders and the falloff node to achieve the look I was shooting for. The texture also was also noticeably not seamless which really ground my gears. I had no plan at this point to play around with the texture of the accent ring around the plug handle so the deformation of geo around that area is due to displacement inside of octane breaking the edges of the mesh. (**Quick tip: Adjusting your phong angle in the "phong tag" on your object to a degree above 91 can in some cases fix your displacement from breaking inside of octane for C4D**)
In an attempt to not dive down the endless rabbit hole of texturing on such a small piece of a much larger goal, I put down texturing the plug handle and began making attempts at the socket itself. Below displays a rough progression of the sockets texturing. You will notice that though the look of the socket comes together a lot faster than the look of the plug handle because I started to get a lot more comfortable with tweaking sensitivity found inside both the dirt and falloff node sliders. As you'll notice I got a bit carried away with grunge maps and adding wear and tear detail to the metal but I always push my textures, lighting, etc too much and then dial back to the look I'm going for.
PLUGS AND SOCKETS CONT. :
With things really picking up around the studio I didn't have much time to progress with the texturing of the plugs but managed to begin playing around with the flesh around each plug and socket.
PLUGS AND SOCKETS CONT. :
Even though I wasn't happy with how the texturing turned out, I had to keep in mind that they were still very rough and were not mapped correctly to the UVs. Since my main objective was to integrate these plugs into the base human mesh, I wanted to begin merging the two assets and seeing how they fit together. Below is a render done after the plugs shown above were set in the scene. You will notice that the flesh around each plug has not yet been modified to fit the look yet but again, this shot was just to see how everything was working together at this point. I had also decided prior to this frame that the black and white style was not the look I was going for moving forward.
PLUGS AND SOCKETS CONT. :
Below are a few test renders taken after preliminary texturing was done on both the socket and plug. Overall I was really happy with how the mesh turned out for all the different elements but the textures weren't quite where I wanted them yet. I didn't feel like they completely fit the mood I was shooting for so I decided to dive a bit deeper into aspect of texturing in octane that I hadn't played with before.
PLUGS AND SOCKETS:
After finishing the base mesh for the plug and socket in both Fusion 360 and C4D, I began the rough preliminary texturing process in octane. My goals for the day were to first, finish the mesh, and second apply rough textures that fit the style/ mood of the scene they were being implemented into.
The GIF below shows a quick lighting / mood test on a human mesh exported from Daz studio , lit and textured in octane for C4D. This mesh will serve as the base that the plugs, sockets, and soon cables will live.


